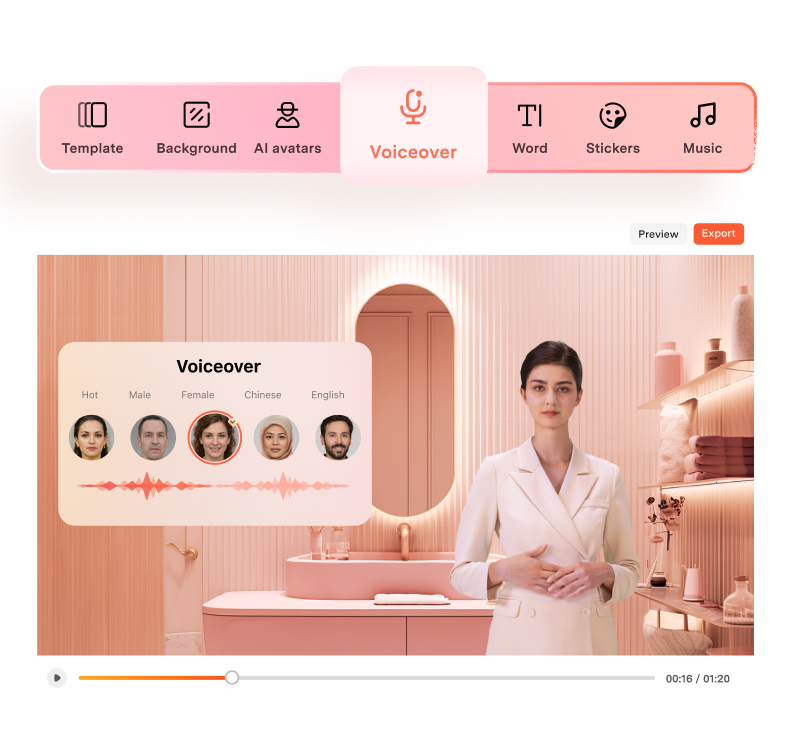
User Guide
Easy-to-use and user-friendly interfaces let you recover photos on Mac at a great ease.
3 easy steps to perform recovery on your own: Select > Preview > Recover
Select recovery mode
Deleted Recovery - Recover deleted photos only on Mac hard drive with HFS+ file system.
Deep Recovery - Deep scan and perform Mac photo recovery on all kinds of file systems, such as HFS+, FAT, and NTFS.
Select file location and file type
Select the target device where you want to recover your photos from.
Choose the file type. All types are selected by default. You can click the button to select the types or cancel the selection. Gray background color means the type is selected.
Click 'Next' to start automatic scanning.
Note: In the process of scan, if you have already found the photos that you need, you can click 'Stop' button to stop the scanning, and go direct to the next step.
Preview the recoverable photos and select the one you want to recover
For Deleted Recovery, if you remember the file name, you can search the file by its name to find the target photos precisely in a short time.
For Deep Recovery, you can sort the file list according to size and date.
Caution: The scan results are temporary in memory. If you click 'Back', the scan results will be lost.
Select a recovery path to save the recoverable data
Select or enter a directory to save the photos, videos and music files that you need. For Deleted Recovery, you can recover with original directory. Also you can enter a new entry by yourself.
Note: We highly suggest that you should select a directory that is located in a different partition from the source partition.